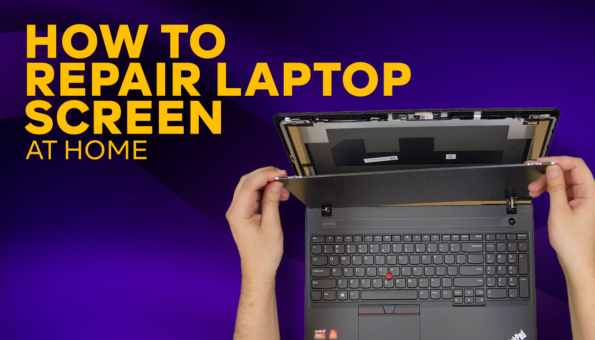
How to repair laptop screen at home
If your laptop’s screen is cracked, it may be impossible to use it. But don’t worry, you can fix it. In this blog, we will provide you with step-by-step instructions on how to replace a broken laptop LCD panel. A broken screen can happen in many ways, but don’t let it stop you from using your laptop. You can fix it yourself with the right tools, some technical knowledge, and a bit of patience. However, if your laptop is still under warranty and the screen was damaged accidentally, it’s better to get it repaired under the warranty rather than fixing it yourself
Tip to repair your laptop screen at home
1. Getting a replacement screen and tools
Before you start fixing your broken laptop screen, you’ll need to gather a few tools and purchase a replacement LCD screen. It’s recommended to have a screwdriver set with small bits such as a Phillips #00 and a Torx T5, along with thin metal blades or plastic spudgers for removing the trim around the screen. You can purchase a replacement LCD screen from the laptop manufacturer’s authorized parts dealer or a third-party supplier. The cost will vary depending on the screen but usually range between NPR 5000 to NPR 25000, or more if it’s a high-end display or OEM replacement. To ensure that the new screen matches your broken one, it’s important to remove the broken screen and get the exact replacement model.
2. Remove the screen bezel
When repairing a laptop screen, the first step is to remove the screen bezel. The screen bezel is the frame that surrounds the screen, and it needs to be removed to access the screws that hold the LCD panel in place. Before you begin, it’s important to make sure that your laptop is unplugged and the battery is removed to avoid any potential electrical hazards. When removing the bezel, it’s important to note that some laptops have hidden screws or cushions that can make it challenging to remove the bezel. You may need to use a thin metal blade or plastic spudger to carefully remove the bezel without causing any damage to the laptop or the bezel itself. These tools can help you pry the bezel away from the laptop frame without scratching or cracking it. It’s essential to take your time and work slowly when removing the bezel to avoid damaging the screen or any internal components. Once the bezel is removed, you’ll be able to access the screws that hold the LCD panel in place. With the screen bezel removed, you can proceed to the next step of replacing the LCD panel and fixing your laptop screen.
3. Remove the broken LCD panel
After removing the screen bezel, remove the broken LCD panel by removing its screws and disconnecting the cable and attaching it to the laptop. Be gentle and cautious when removing the screws to prevent damage to the bracket and its surroundings. Note the LCD panel’s model number found on a sticker on the back. Purchase a replacement LCD panel that is compatible with your laptop model from a computer repair shop or online. By following these steps, you can remove the broken LCD panel and purchase a replacement with the necessary information. With technical know-how, you can fix your laptop screen at home.
4. Install the new LCD panel
When your new screen arrives, unpack it and check that it matches the old one in dimensions, mounting brackets, and connector. Connect the new panel to the cable, position it in the lid, and secure it using the appropriate screws.
5. Test the new LCD panel and reinstall the bezel
Before reattaching the bezel, reconnect the battery and power cable and turn on the laptop to test the new panel. If the display works, you can reattach the bezel and any external screws and rubber cushions. Remember to adapt the instructions to your specific laptop, and take your time to make sure you get the right replacement screen.
6. For touchscreen laptops
When it comes to replacing a touchscreen on a laptop, there are some special considerations to keep in mind. If the touch function is integrated into the LCD, the replacement process is similar to that of a non-touch screen. However, if the touchscreen is covered by glass that extends to the edges of the bezel, a separate digitizer is present. This type of replacement can be more challenging and requires extra steps specific to the model. To ensure a successful replacement, it’s important to search for instructions that pertain to your computer’s particular model. This involves doing additional research to locate instructions for the specific steps required to replace the separate digitizer. By doing so, you can save time and avoid potential damage to your device during the replacement process. In summary, replacing a touchscreen on a laptop requires different steps depending on whether the touch function is integrated or a separate digitizer is present. Finding model-specific instructions is crucial to ensure a smooth and successful replacement process